Blackened grout is the bane of all bathrooms and kitchens. I struggled for a long time with commercial chemicals, without really satisfactory results. Then one day, my neighbor told me about a grandmother’s recipe that she had learned from her aunt. Skeptical at first, I ended up giving it a try. The result? Joints as good as new in record time, without scrubbing like crazy. I am sharing with you this economical and ecological solution that has saved me a lot of time. No more aggressive and expensive chemicals!
Why do tile joints get dirty so quickly?
Before talking about the miracle cure, it is essential to understand the problem. Tile grout is generally made from cement, a porous material that easily absorbs:
- The humidity that promotes the development of mold
- The soap residue that gradually becomes encrusted
- The lime present in the water
- Various dusts and dirt
In damp rooms such as the bathroom, these factors combine to create an ideal environment for black and greenish mold. In the kitchen, it is more the fats and food splashes that become encrusted.
The ingredients of the magic 100% natural mixture
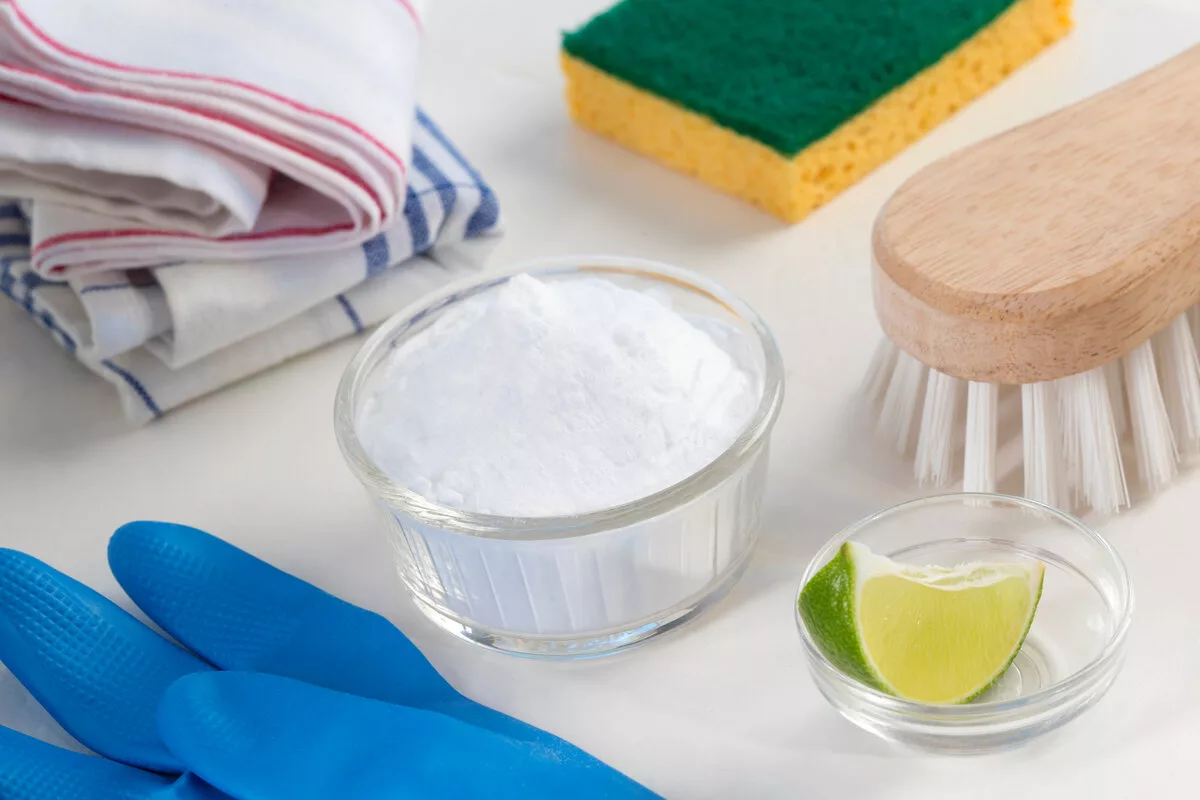
The beauty of this solution lies in its simplicity. You probably already have all these ingredients in your cupboards:
Ingredient Quantity Property
Baking soda 1/2 cup Cleaning agent and mild abrasive
White vinegar 1/4 cup Disinfectant and anti-limescale
Lemon juice The juice of one lemon Natural bleach and antibacterial
Hot water 1/4 cup Thinner and activator
Why do these ingredients work so well together?
It’s the natural chemical combination that makes all the difference:
- The baking soda acts as a gentle abrasive that removes dirt without scratching
- The white vinegar reacts with the baking soda to create an effervescent foam that penetrates deeply
- The lemon provides its whitening power and fresh scent
- The hot water activates the ingredients and facilitates their penetration
Step-by-step preparation of the cleaning mixture
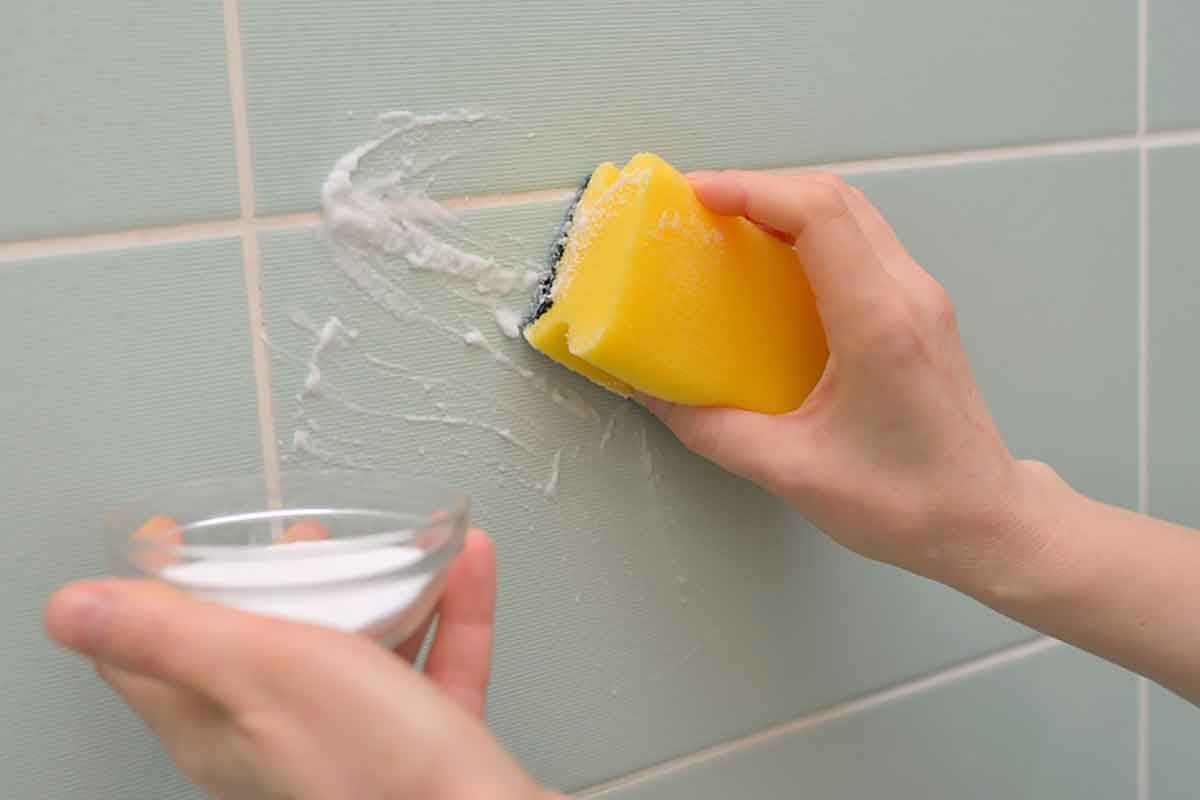
- Pour the baking soda into a bowl
- Add the hot water and mix to obtain a thick paste
- Incorporate the freshly squeezed lemon juice
- Gradually add the white vinegar (watch out for the effervescence!)
- Mix until you obtain a creamy consistency that is easy to apply
The preparation must be used immediately to take advantage of the chemical reaction between the bicarbonate and the vinegar. It is this effervescence that does all the work!
Applying the mixture: instructions for use in 5 steps
The effectiveness of this mixture also depends on how well it is applied. Here’s how to do it:
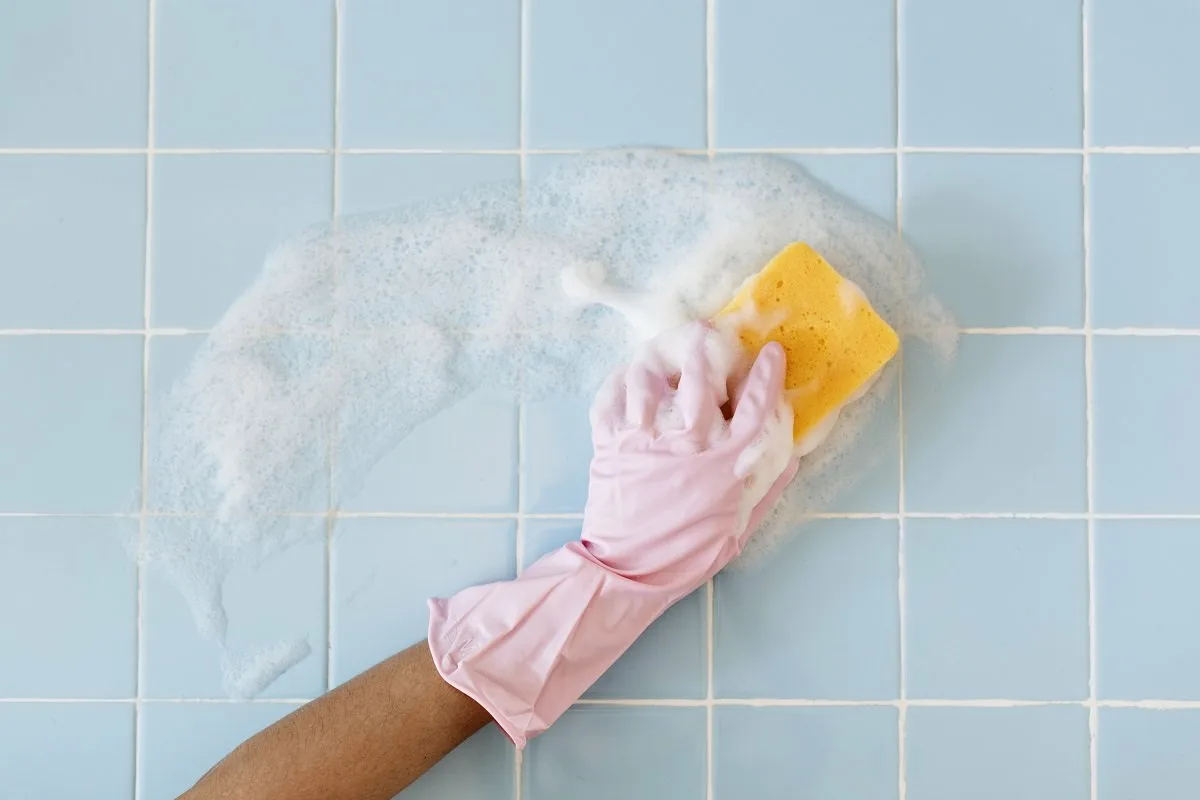
1. Prepare the surface
Wipe your grout with a damp sponge to remove surface dust. This will allow the mixture to penetrate the grout better.
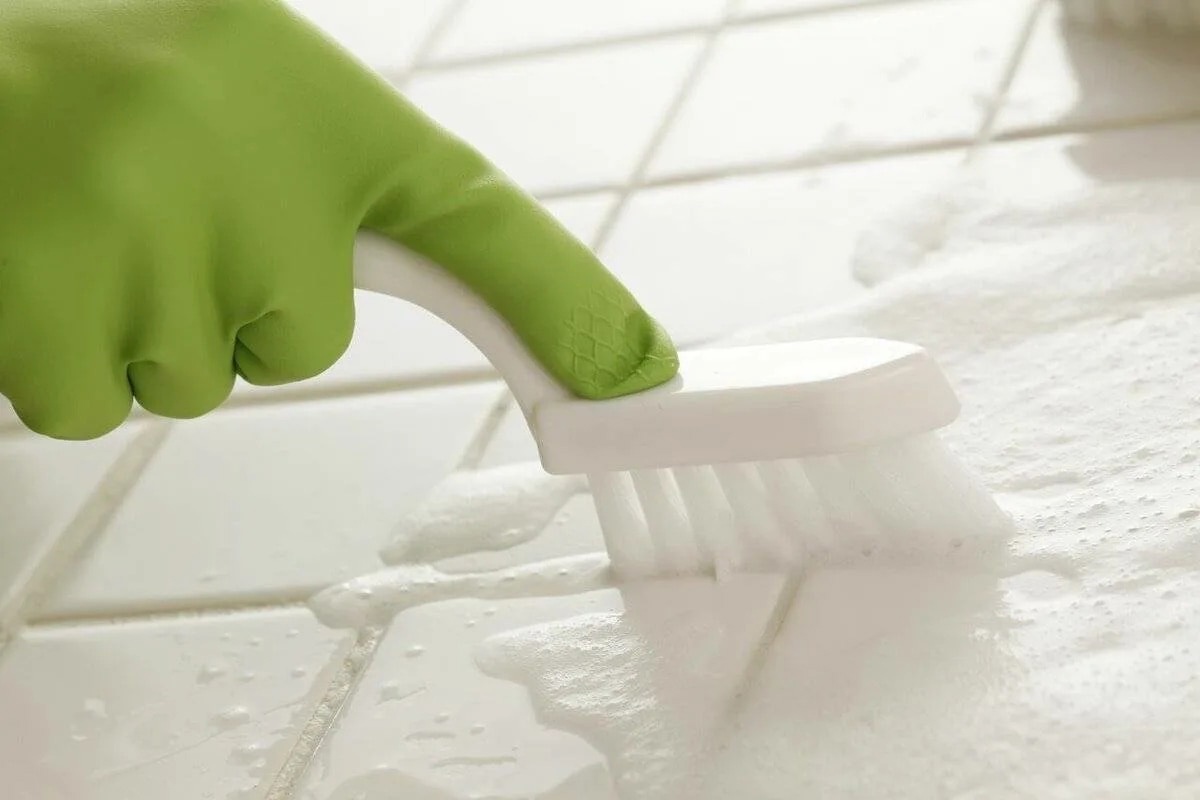
2. Apply the mixture generously
Using an old toothbrush or a kitchen brush, apply the paste generously to the grout, paying particular attention to the dirtiest areas. Don’t be afraid to apply a thick layer.
3. Leave to work: the key to success
Leave for 10 minutes, no more, no less. That’s how long it takes for the magic to happen! The natural agents dissolve the dirt and penetrate into the pores of the cement to dislodge the impurities.
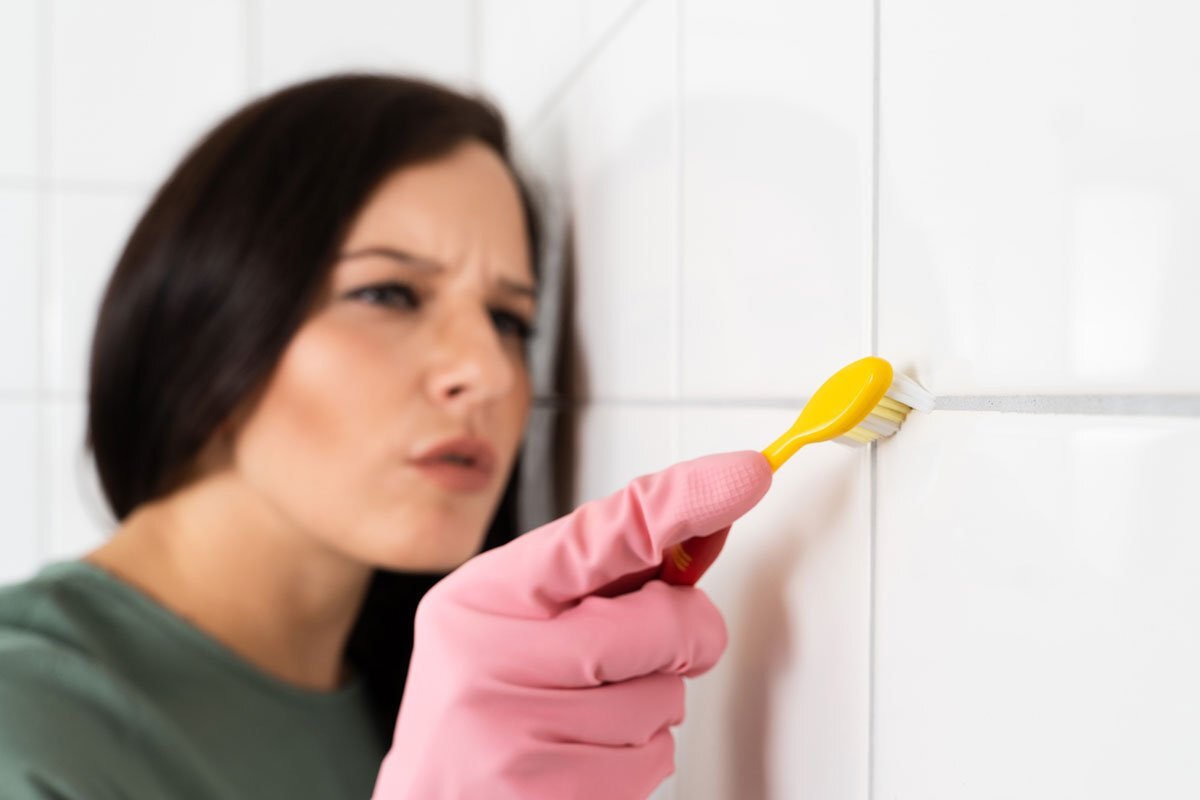
4. Light scrubbing
With a used toothbrush or a small soft brush, lightly scrub the joints in a circular motion. You will see the dirt come off easily.
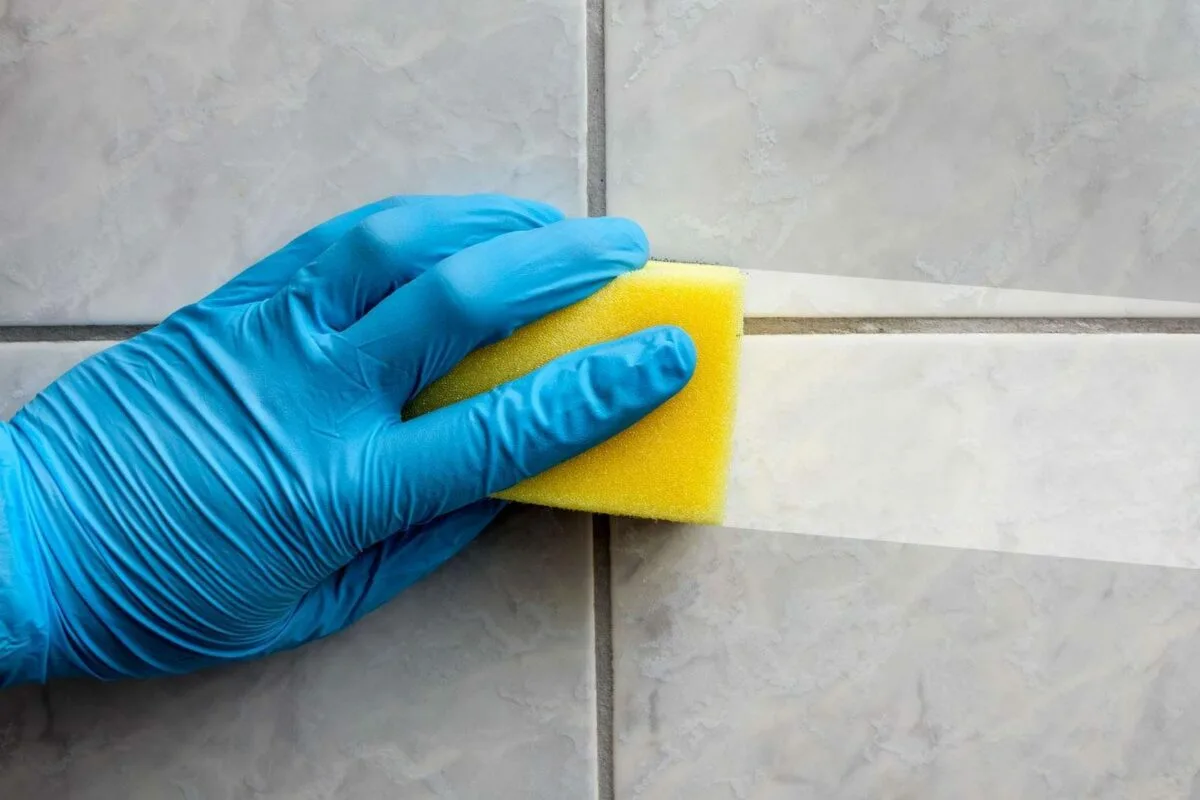
5. Thorough rinsing
Rinse thoroughly with clean water using a well-wrung out sponge. Repeat the rinsing several times to remove all residues. Finish by wiping with a microfiber cloth to shine.
Areas where this mixture works wonders
This natural cleanser is particularly effective in:
- The shower and bathtub where mold easily settles
- Kitchen joints, which are often yellowed by grease
- Tiled walls in toilets
- Floor joints in hallways and corridors
I have even used this mixture on the joints of my outdoor terrace, with astonishing success on the greenish traces of moisture!
Advantages over commercial products
Having tried many commercial products, I can say that this natural mixture has serious advantages:
Economical and accessible
A bottle of sealant cleaner easily costs between €5 and €10, whereas the ingredients in this recipe cost less than €2 per use. What’s more, these are basic products that you generally already have at home.
Ecological and safe
Unlike chemical cleaners, which often contain bleach or corrosive agents, this mixture is biodegradable and does not emit toxic fumes. You can use it without gloves and without fear for your lungs.
Comparable or even superior effectiveness
The tests I have carried out show that it is at least as effective as specialized products, particularly on stubborn mold. The difference? No need to scrub like crazy for hours!
Some additional tips for optimal results
In the course of my experiments, I have discovered a few little tricks that further improve the results:
For very dirty joints
If your joints are very dirty or have not been cleaned for a long time, you can:
- Double the amount of baking soda for a more pronounced abrasive effect
- Extend the application time to a maximum of 15 minutes
- Apply the mixture twice in a row to stubborn areas
The essential oil trick
For an enhanced disinfecting effect and a pleasant smell, add 5 drops of tea tree or lemonessential oil to your mixture. These oils have natural antifungal properties that prevent mold from returning.
The pre-steaming technique
For particularly stubborn grout, especially in the shower, run very hot water for a few minutes to create steam before applying the mixture. The heat will slightly expand the pores of the cement and facilitate the penetration of the cleaning agents.
Regular maintenance: prevention is better than cure
To prevent your grout from turning black again too quickly, a few maintenance steps are essential:
Weekly maintenance spray
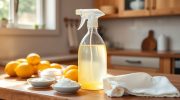
Prepare a spray consisting of:
- 1 part white vinegar
- 2 parts water
- 10 drops tea tree essential oil
Spray this mixture once a week on your grout after showering or cleaning the kitchen, without rinsing. This simple gesture prevents the appearance of mold.
The importance of ventilation
As damp is the number one enemy of clean joints, make sure you ventilate your bathroom well after each use. If possible, leave the window open for 15 minutes or install an efficient extractor fan.
Testimonial: my personal experience
The first time I used this mixture was on the shower seals, which had taken on an unappealing blackish tint. I had tried everything: anti-mildew spray, bleach, specific products… Nothing worked completely or else it meant hours of scrubbing.
When I applied this paste, I was amazed to see that after only 10 minutes of application and a light brushing, my joints had regained their original whiteness. The most impressive thing? Six months later, with weekly spraying, they are still impeccable!
Precautions for use
Although natural, this mixture is still a cleaning product that requires some precautions:
- Test first on a small inconspicuous area, especially if your grout is colored
- Avoid using on marble or limestone, which could be sensitive to the acidity of the vinegar and lemon
- Do not use this mixture on silicone grout, which could deteriorate
- Never mix this preparation with products containing ammonia or bleach
There you go, now you know how to give your tiles a new lease of life without spending a fortune on chemicals! This age-old method proves once again that the simplest solutions are often the best. So, get out your old toothbrushes and transform your bathroom in the blink of an eye!